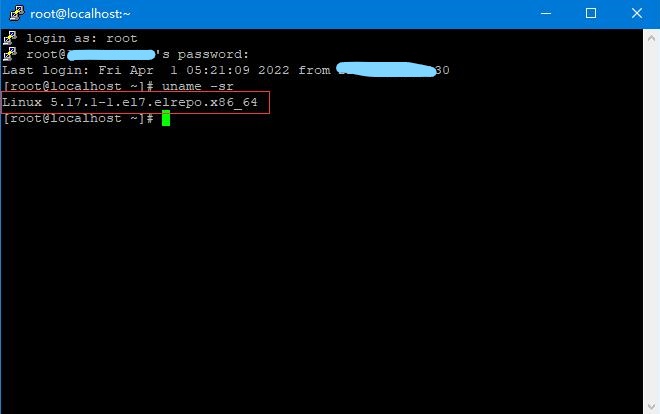
Recently, due to work reasons, centos 7 upgrade kernel guide, I deployed the website developed with asp.net technology to the customer’s Centos 7 server; the customer provided a bare metal with Centos 7 installed, no software was installed, and the kernel was not the latest. Therefore, the first step of work needs to be upgraded.
Before starting the operation, you need to use the ssh client tool software, I use putty. By the way, if you are a beginner and do not have your own server, then you can buy a VPS by yourself to build a learning environment. You can buy very cheap VPS from the service providers recommended by the best cheap VPS ranking.
At the beginning, I execute the yum update command to update all package, because this is a new server.
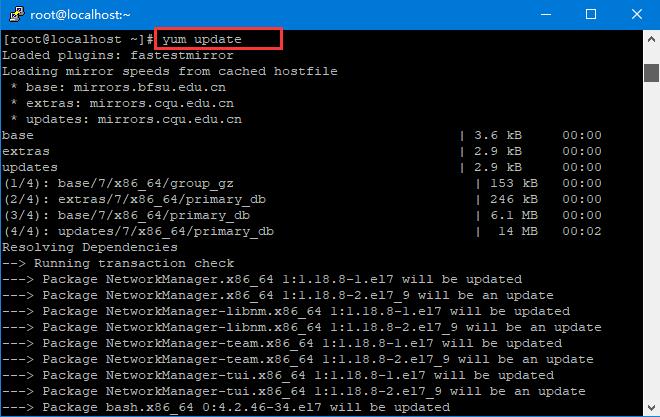
Although executing the yum update command is optional, in this post, I executed the command first.
After you type yum update in that black window, you will get some prompts, usually, just type y.
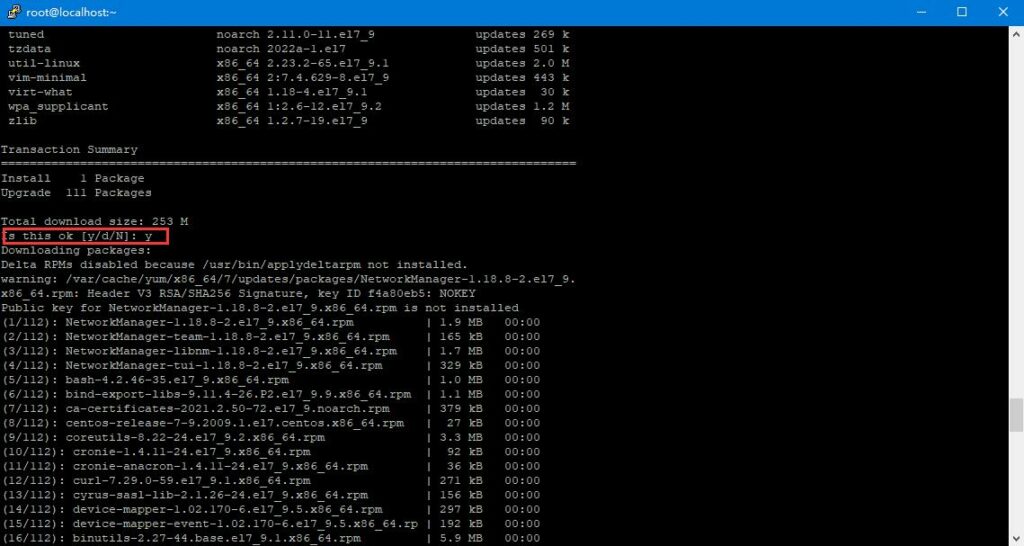
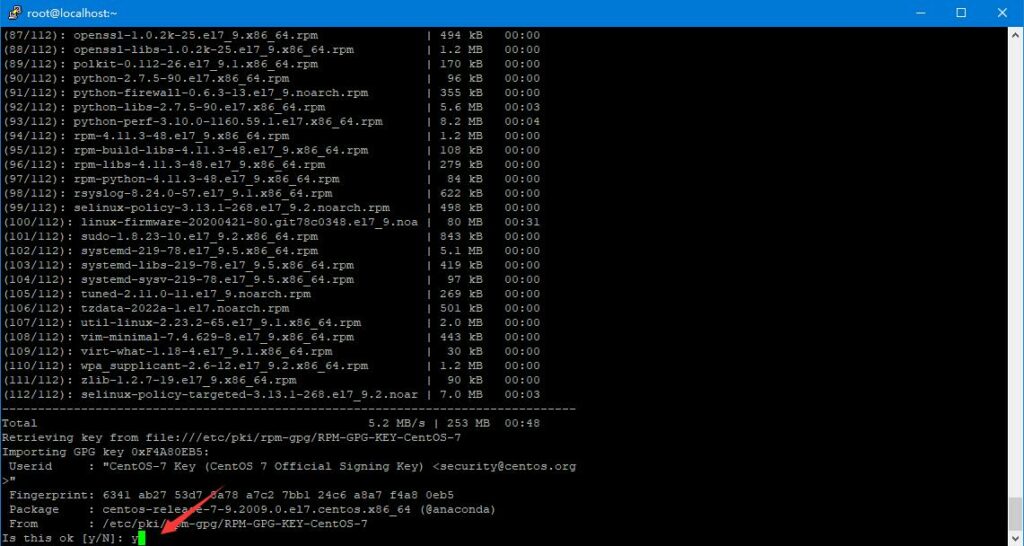
After that, the corresponding software update package will be downloaded automatically. You only need to wait for a cup of coffee. After a while, we have completed the initial software package update.
OK, let’s start our Centos 7 Upgrade Kernel Guide tour.
Centos 7 Upgrade Kernel Guide
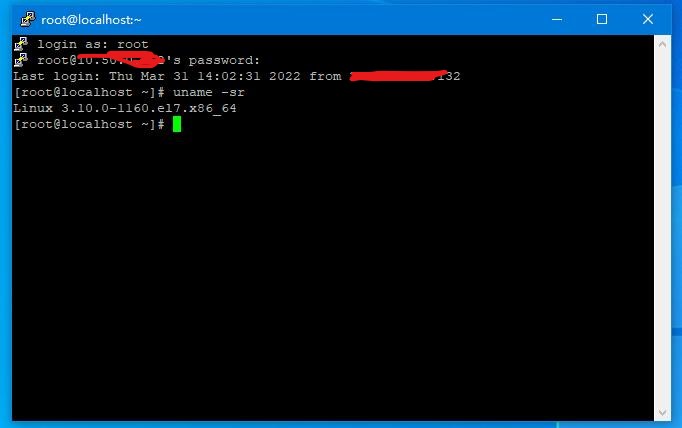
If you need to know what version or kernel your current Linux server is, you can use the uname -sr command, my server output is:
Linux 3.10.0-1160.el7.x86_64
A description of the Linux kernel version number is described in the post do you know the Linux kernel version number.
Then you just need to follow this complete Centos Kernel upgrade steps to execute the relevant commands.
Enable the ELRepo repository
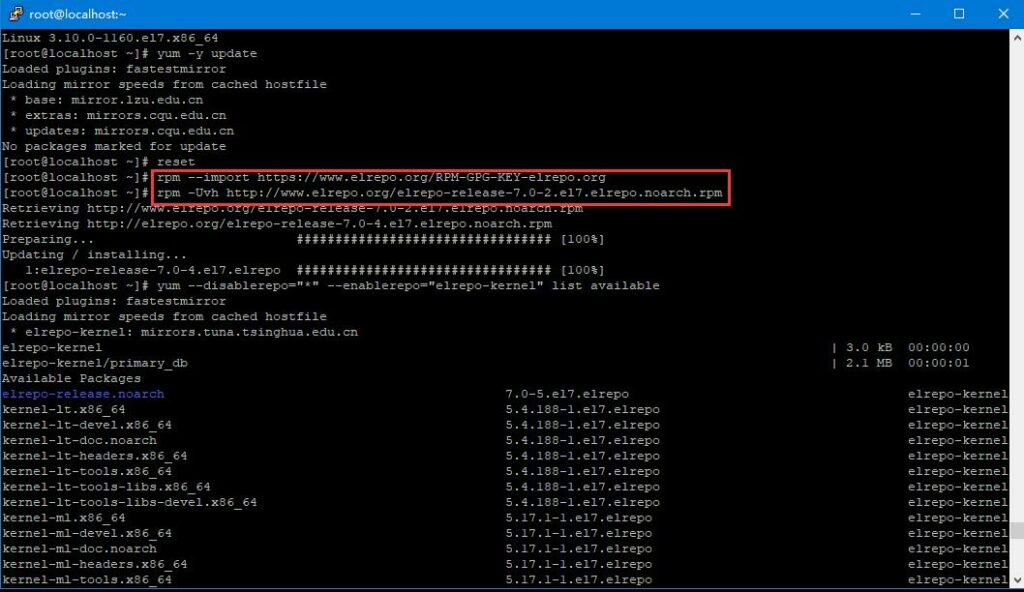
CentOS allows the use of ELRepo, a third-party repository that can upgrade the kernel to the latest version. To enable the ELRepo repository on CentOS 7, run the following command:
rpm --import https://www.elrepo.org/RPM-GPG-KEY-elrepo.org
rpm -Uvh http://www.elrepo.org/elrepo-release-7.0-2.el7.elrepo.noarch.rpm
As shown below:
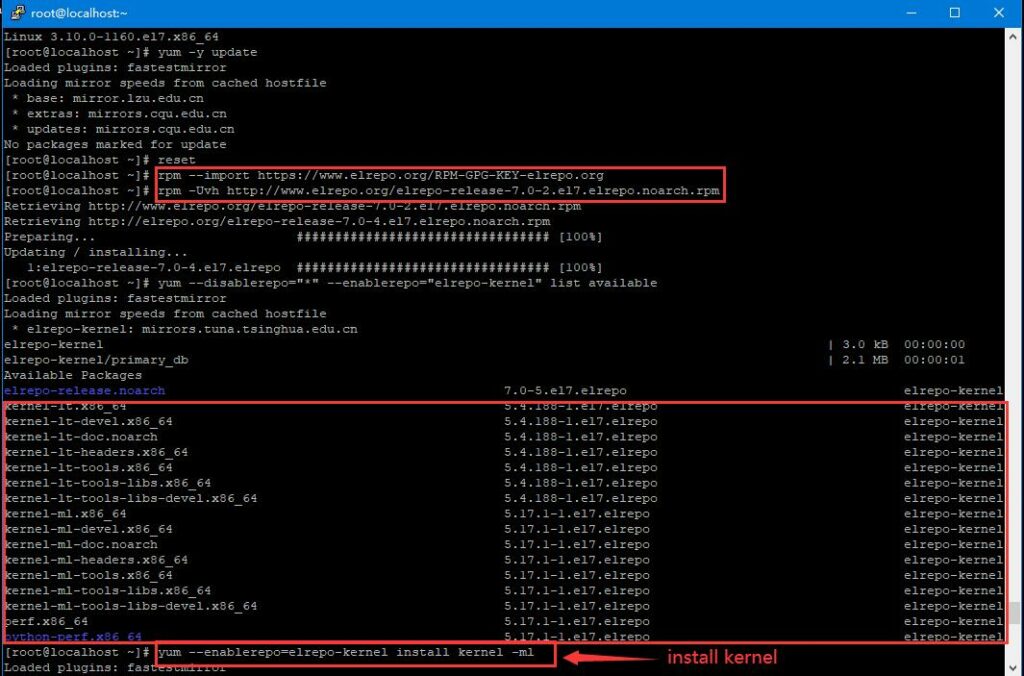
See which kernels are available for installation, Execute the following command:
yum –disablerepo=”*” –enablerepo=”elrepo-kernel” list available
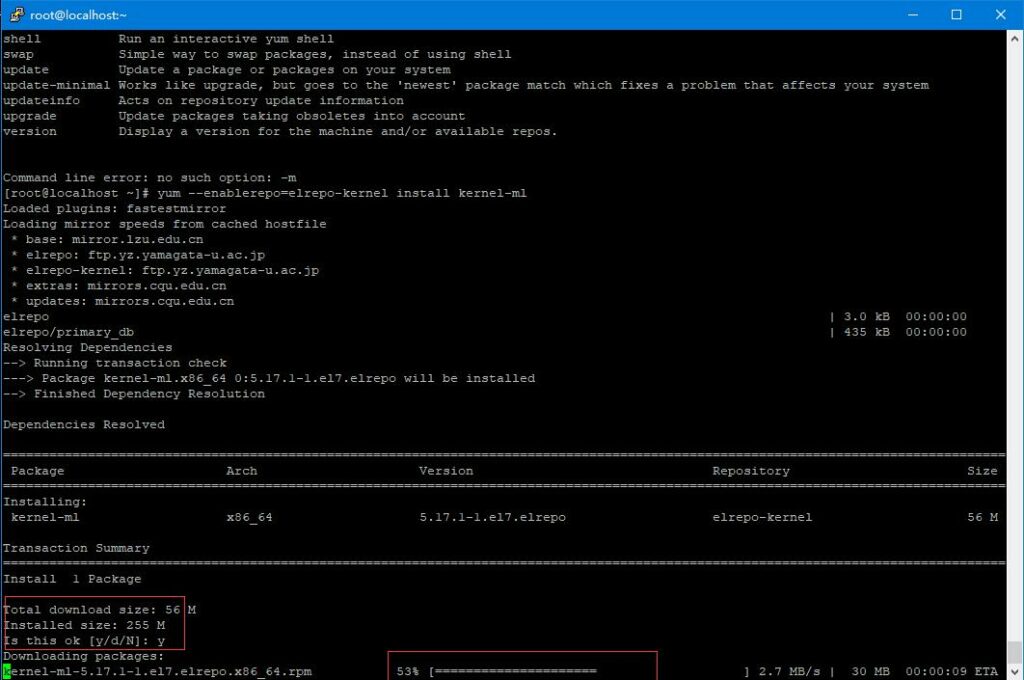
Install the latest kernel version
yum --enablerepo=elrepo-kernel install kernel-ml
Enter as prompted.
Modify GRUB
Next, set it as the default startup item, modify GRUB, and check the default value first, it is definitely not 0
cat /etc/default/grub
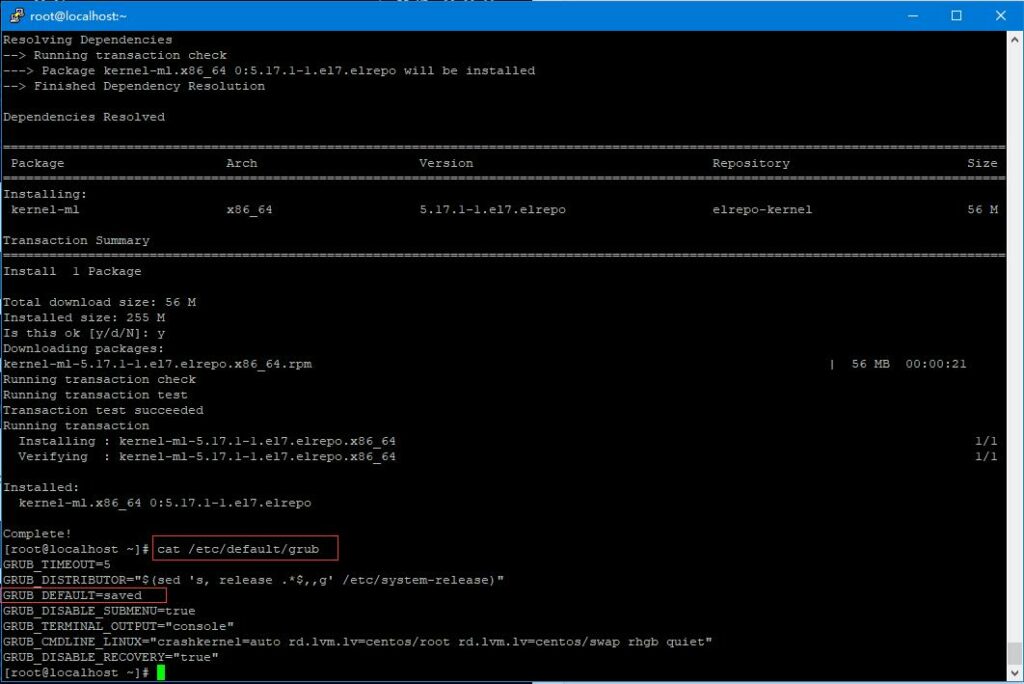
Open and edit /etc/default/grub with vim editor and set GRUB_DEFAULT=0, you should know that editing and exiting, in order to keep the format, no command will be placed
vim /etc/default/grub
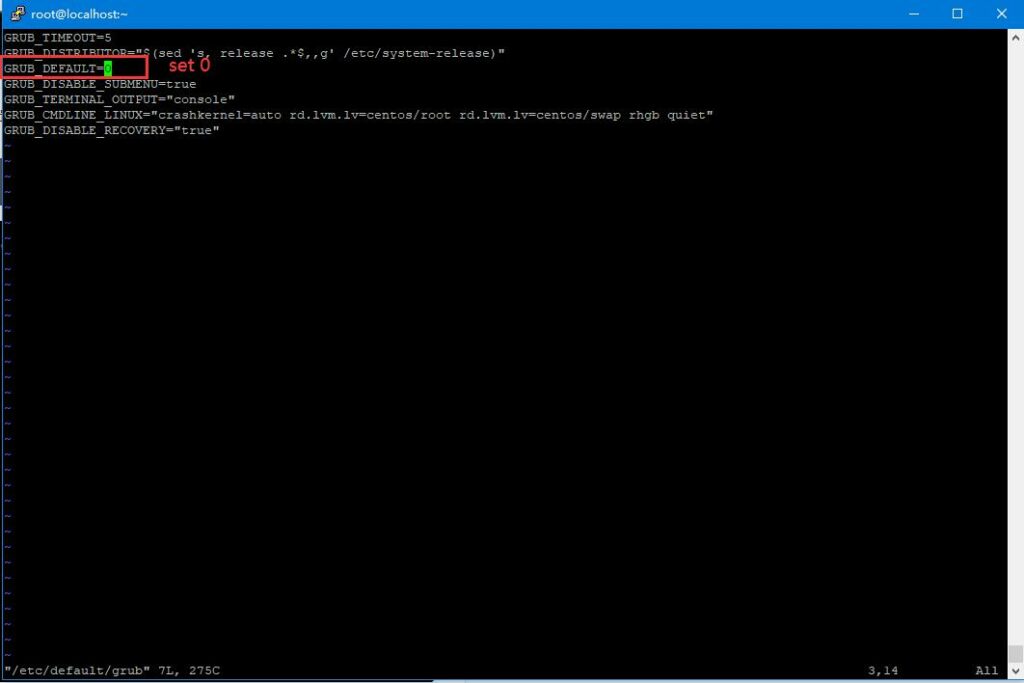
Next recreate the kernel configuration
grub2-mkconfig -o /boot/grub2/grub.cfg

Reboot server
After the final upgrade, reboot to restart the machine, and re-check the upgraded kernel.
uname -sr
